I love taking sewing classes, even if the content is not new to me. I love hearing people’s tips and tricks, listening to sewing-related chatter and the hum of machines all around me, meeting new people, and having a reason to dedicate a block of time to my favorite hobby. So when I set my sewing goals for 2017 and put making more bras on my list, I decided I wanted to take another class. Now I know what you’re thinking — yes, I took bra making at Camp Workroom Social last October and absolutely loved it. But I had let so much time elapse before making a bra on my own that I had started doubting my abilities and memory of which fabric to use where, etc…
Side note: I need to print and frame this Closet Case Patterns post and hang it in my sewing room, stat. Seriously, just make it already!
I could not find any bra making classes locally – this is not at all surprising, we desperately need a sewing school/shop in Richmond (and yes, I’ve considered opening one myself but am far too risk averse) – so I looked elsewhere. Anybody who sews bras, dreams of sewing bras, or even just likes bras, has heard of Madalynne. Her blog and IG feed are full of perfectly lit photos of beautiful handmade lingerie. So I started there. And low and behold, there was an underwire bra making class just a couple months away. I signed up almost immediately.
Of course, between then and the workshop, I got up the courage to make my first bra on my own, and then a couple more, in fact, but I was still psyched for my sewing road trip.
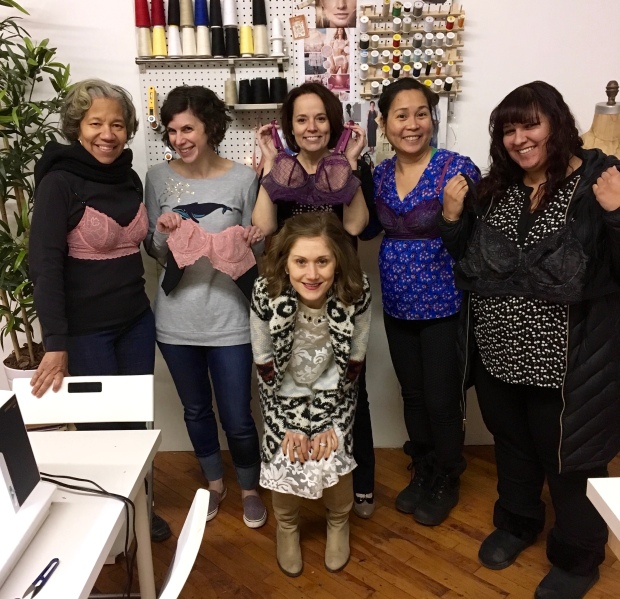
The workshop, held in Madalynne’s studio, a super-feminine space in a huge old warehouse, was this past weekend. It was everything I had expected from a Madalynne workshop: intimate (five students plus Madalynne and two assistants), friendly, fun, full of yummy food and special treats, and Instagram-y.


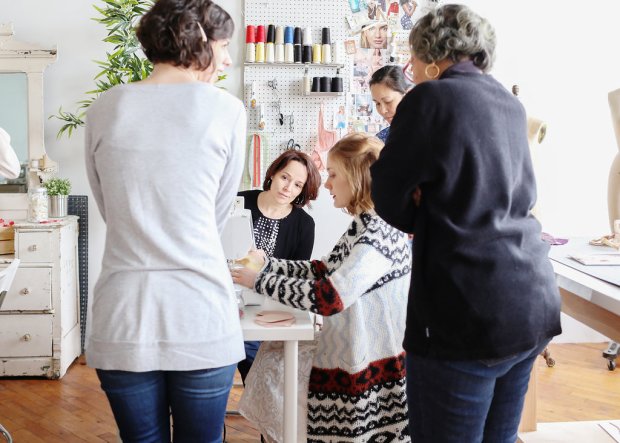
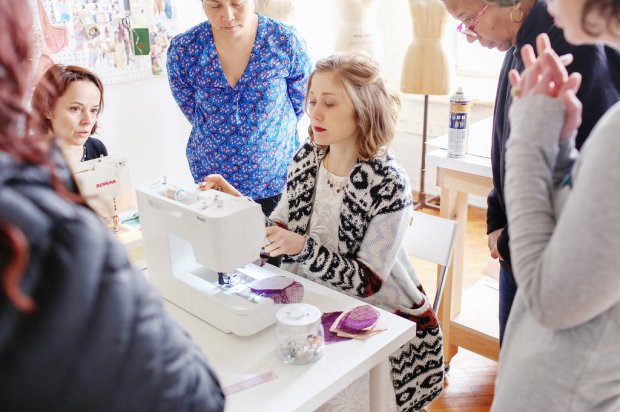
Before I signed up for the workshop, I emailed Madalynne to enquire if I could make her bra design using foam in place of regular cup lining. She was clear that this was not something she had done in a workshop before and that others would be using the more traditional supplies, but encouraged me to give it a go and promised to help however she could. When I arrived, she had already cut samples from foam and decided to make the sample bra using foam as well.
There was, of course, pink and gold confetti and dried rose petals sprinkled everywhere.
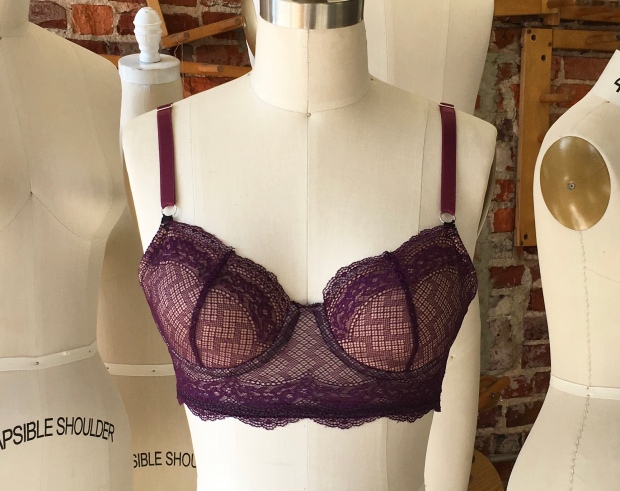
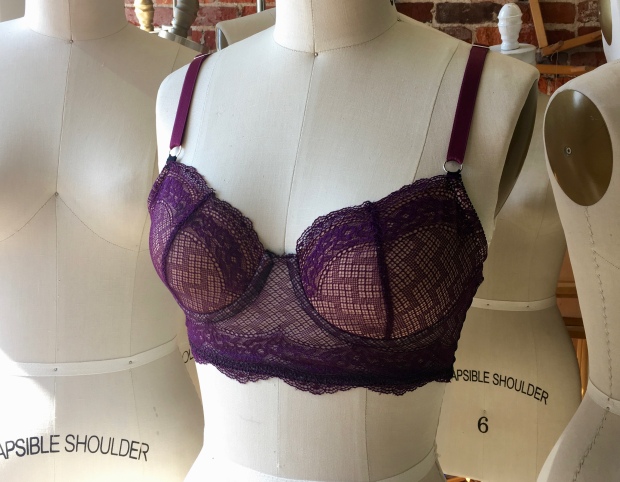
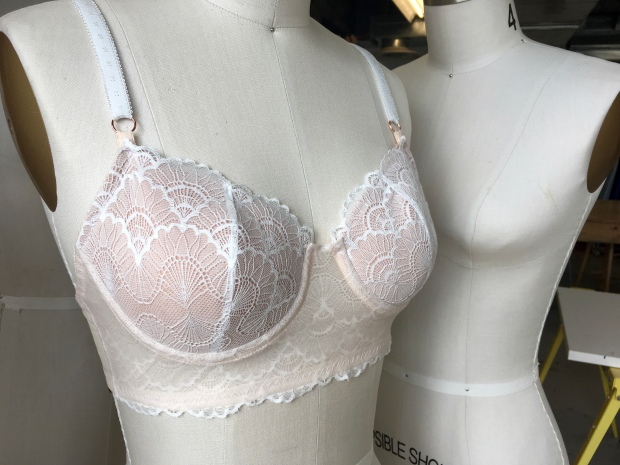
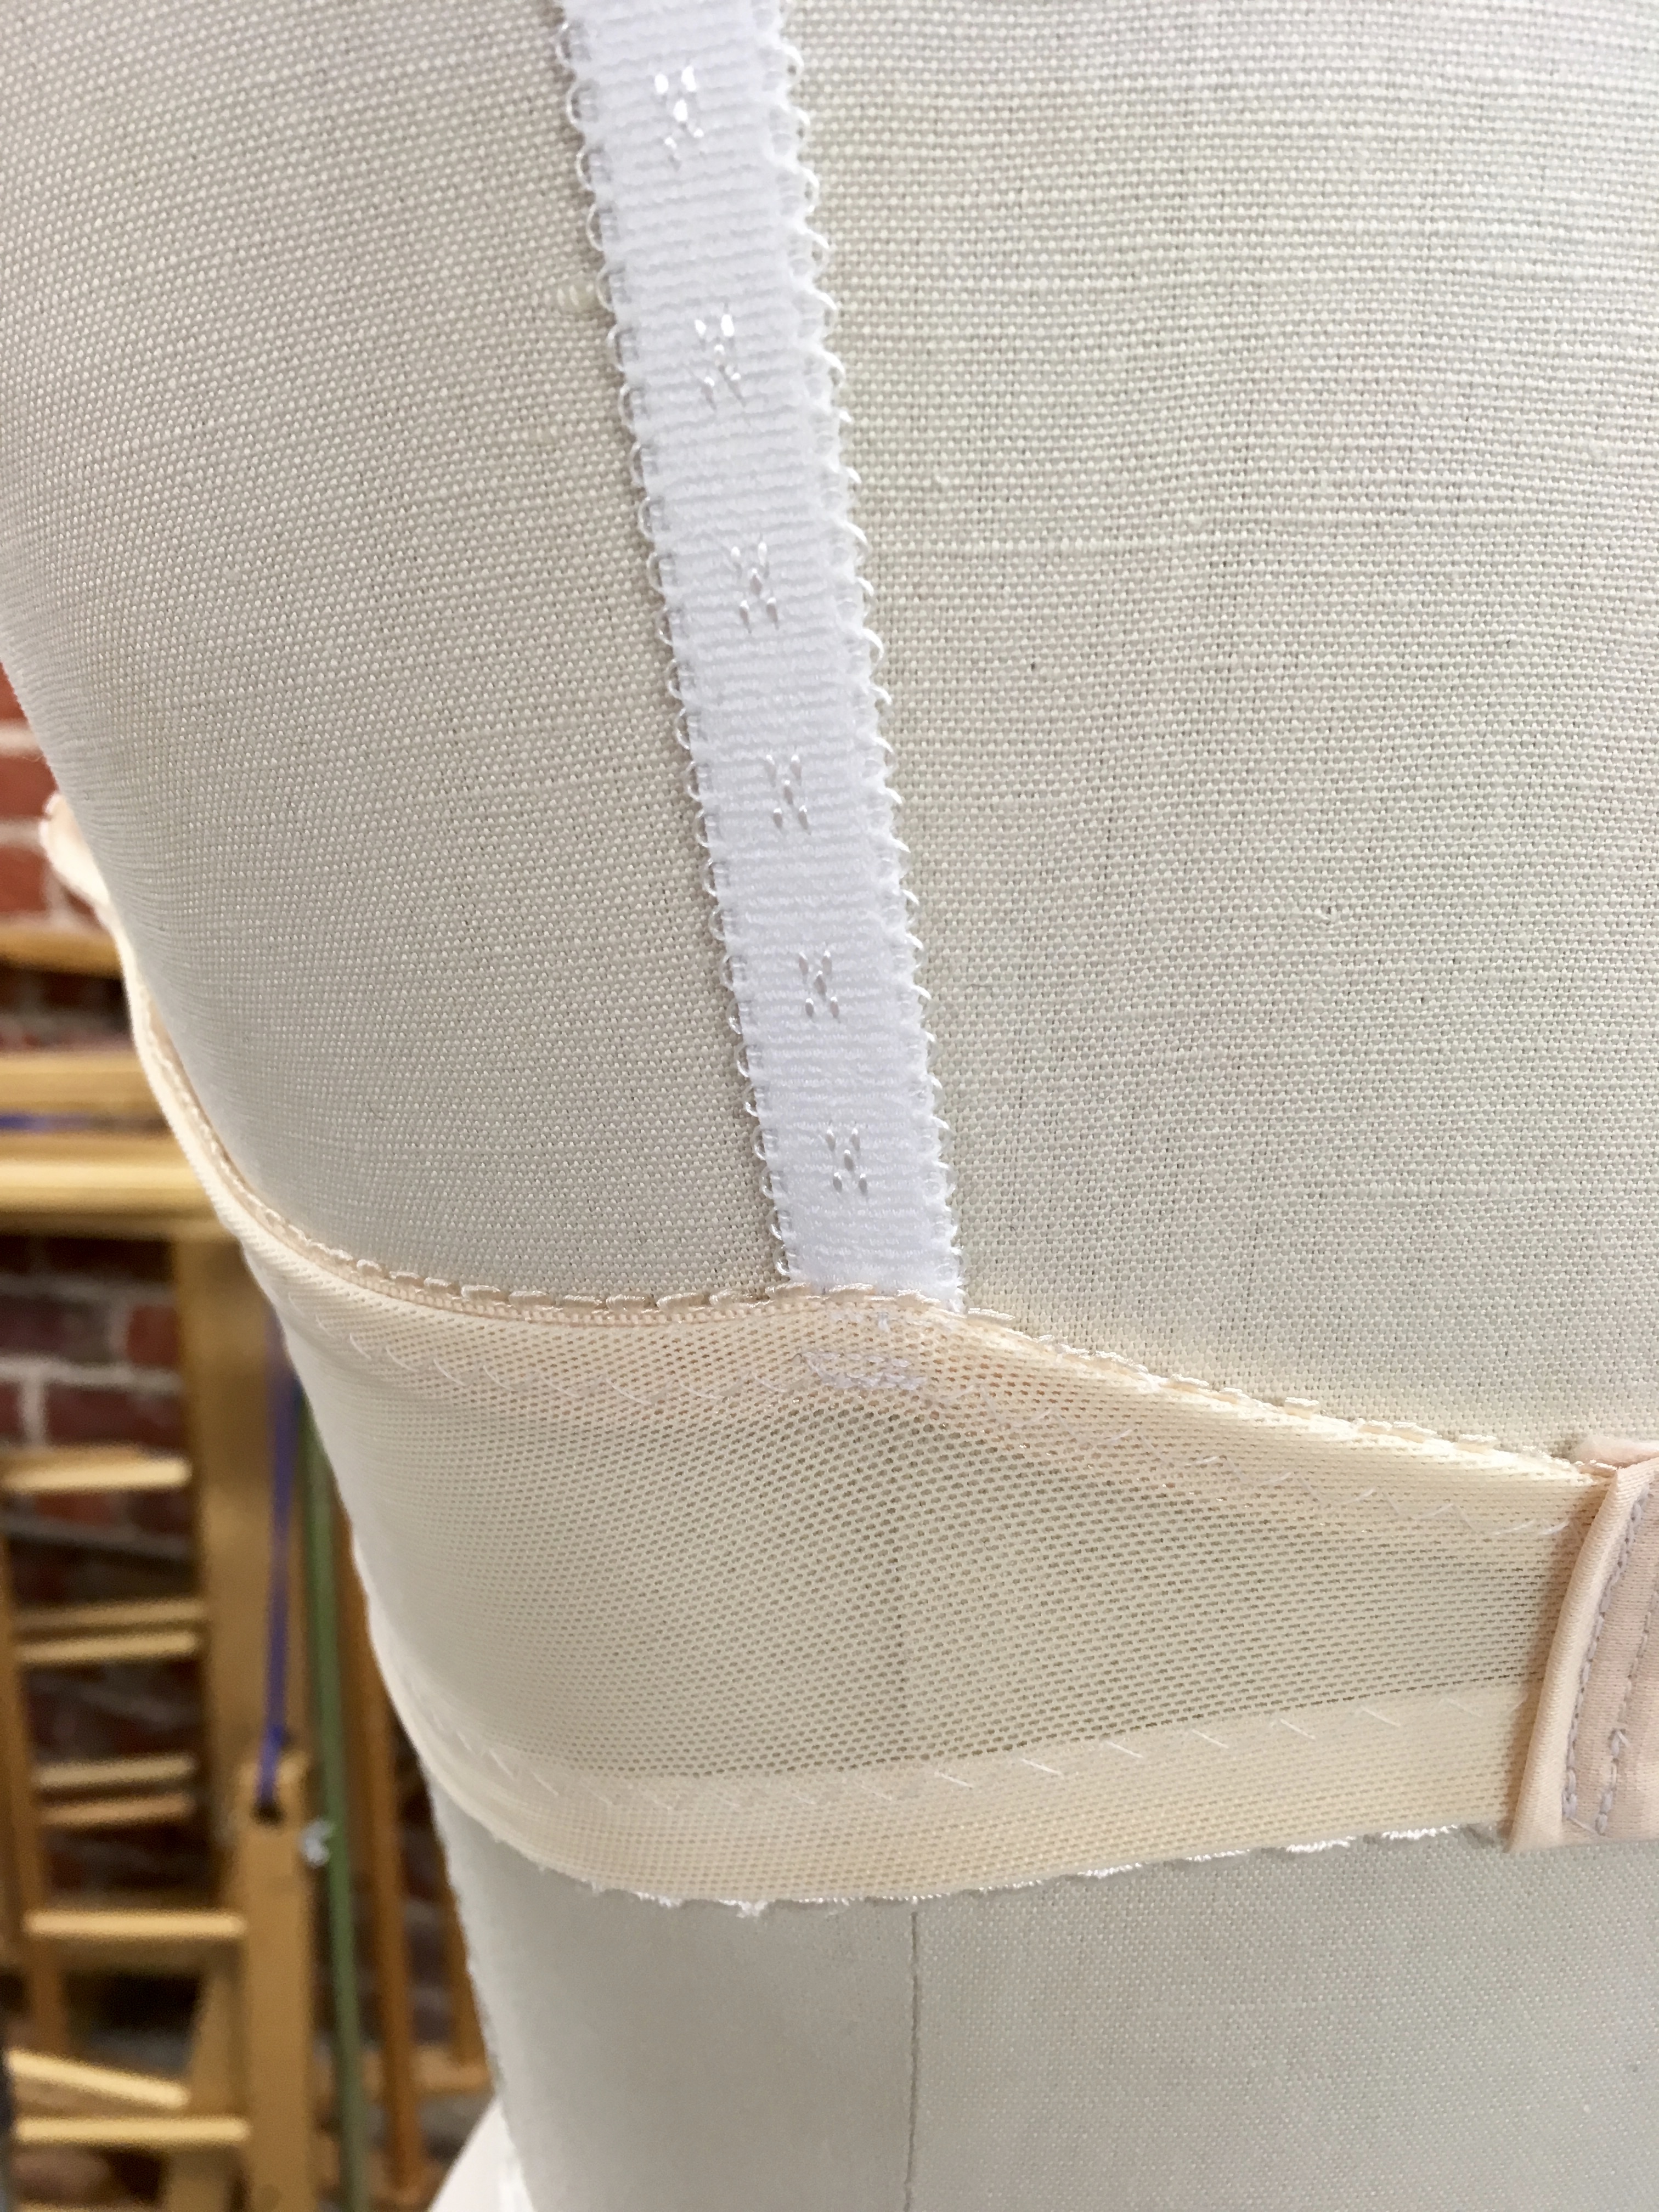
This bra, unlike all of the others I have made so far, has a straight back, which I think is also sometimes called a camisole or a t-back. The top of the back band is relatively straight, rather than curved like a U, and the straps simply get tacked to the elastic at the top of the band, rather than running along the slope of the band and into the hook and eye attachments. The Boylston, Watson and Harriet all have U-shaped backs, also known as ballet back or leotard back. (If you look at my posts on my first Boylston and Watson bras, you can see pictures of the u-back style to compare to the picture below.) I was worried this style may not feel secure, but I’ve been pleasantly surprised so far.
This is also the first time I have used a 3-row hook & eye set. They are Madalynne’s preference. I think they may be mine now as well. I think the wider band helps the whole bra feel more supportive and secure without having to be too tight.

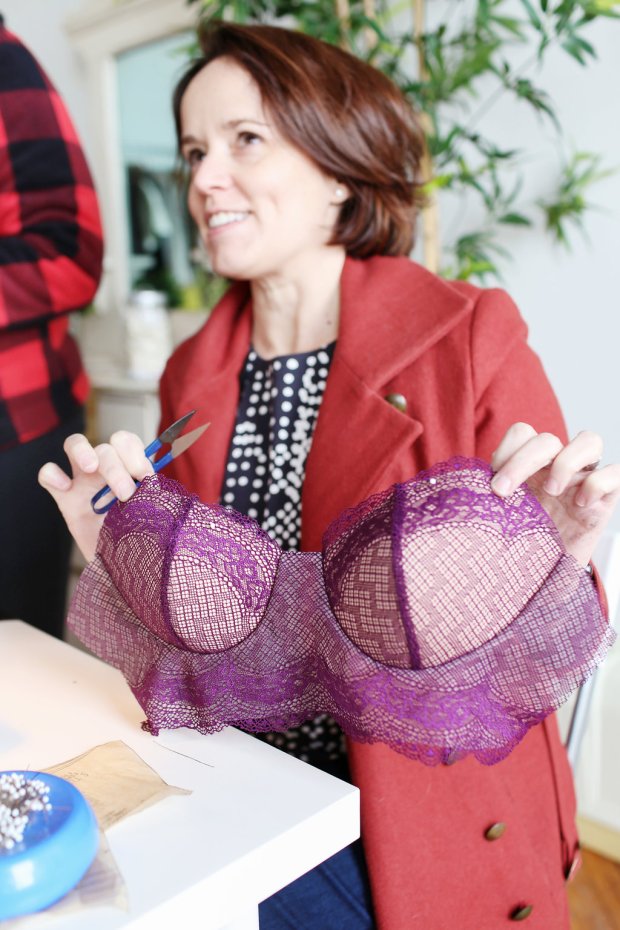
Since I made a weekend of it (Philadelphia is four+ hours from Richmond by car), this trip was not cheap – the cost of the workshop, plus my hotel with parking for two nights, and gas added up quickly – but guess what, it was totally worth it. The bra I made, with the kit provided by Tailor Made Shop, is beautiful.
I also made some new friends:
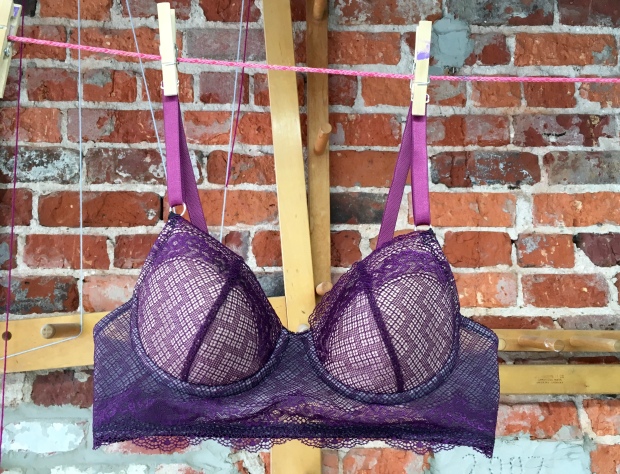
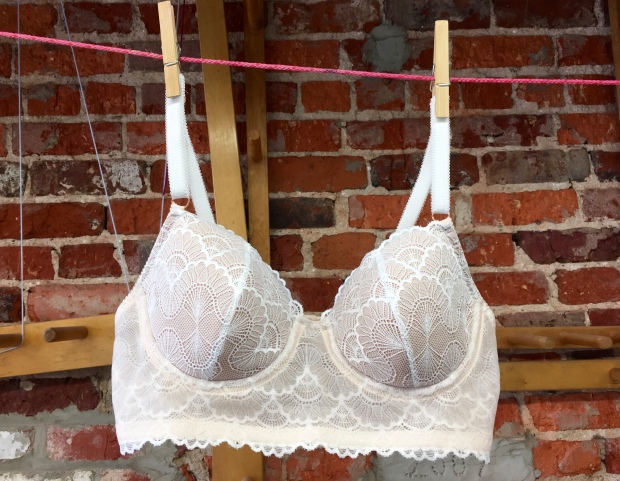
When I got home, I immediately cut my next version. This should surprise nobody. I made this version with a kit from Tailor Made Shop as well (plus foam from Bra Maker’s Supply).

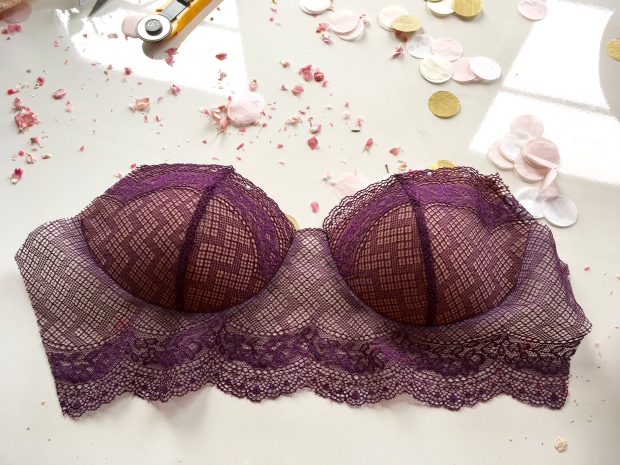
Here is a close-up of the lace. I wish I’d purchased some of this in the other colors before it sold out. Though, honestly, I have no shortage of beautiful laces right now 🙂

I only had 2-row hook and eye sets in my stash, so I simply adjusted the height of the back band as needed. And look at that pretty strap elastic.
Here are a couple flat shots. These are not up to the Bra Making with Madalynne and Tailor Made Shop standards, I must have run out of dried rose petals and confetti yesterday, but they’ll do.

I learned several very important lessons when making these two bras:
- I attached the frame lace and frame lining with spray adhesive before cutting. The adhesive started to wear off before I sewed in my cups and lower elastic. I should have basted them together or re-sprayed them with glue but thought I could make it work. I was wrong. The lace is a bit bunchy under the cups even when the lining underneath is pulled taught. You can see this in the flat shot of my purple bra above. Lesson learned. I did not have the issue with my second version.
- When attaching the underarm elastic, Madalynne recommends leaving extra length at the top of the cup to string through the strap loops. I gave myself the perfect amount on my purple version – when I have the bra on, the elastic is still short enough to not show above the lace at the top of the cup. I left the elastic too long on my white version. You can see it stretched below the loops on the photos above on the dress form. It is not the end of the world, I will certainly not re-do it on this bra, but I will know to be more thoughtful next time around.
- I get a bit of bulging along the elastic in the underarm area along the top edge of the frame (between side of the cup and the back band). In class, Madalynne mentioned that she occasionally does as well, and to correct that she increases the seam allowance between the frame and the band to 3/8″ at the top, fading to the usual 1/4″ at the bottom.
- I need to get better at remembering to trim away the extra foam along the underarm elastic seam line. Bulk there is not attractive, at all.
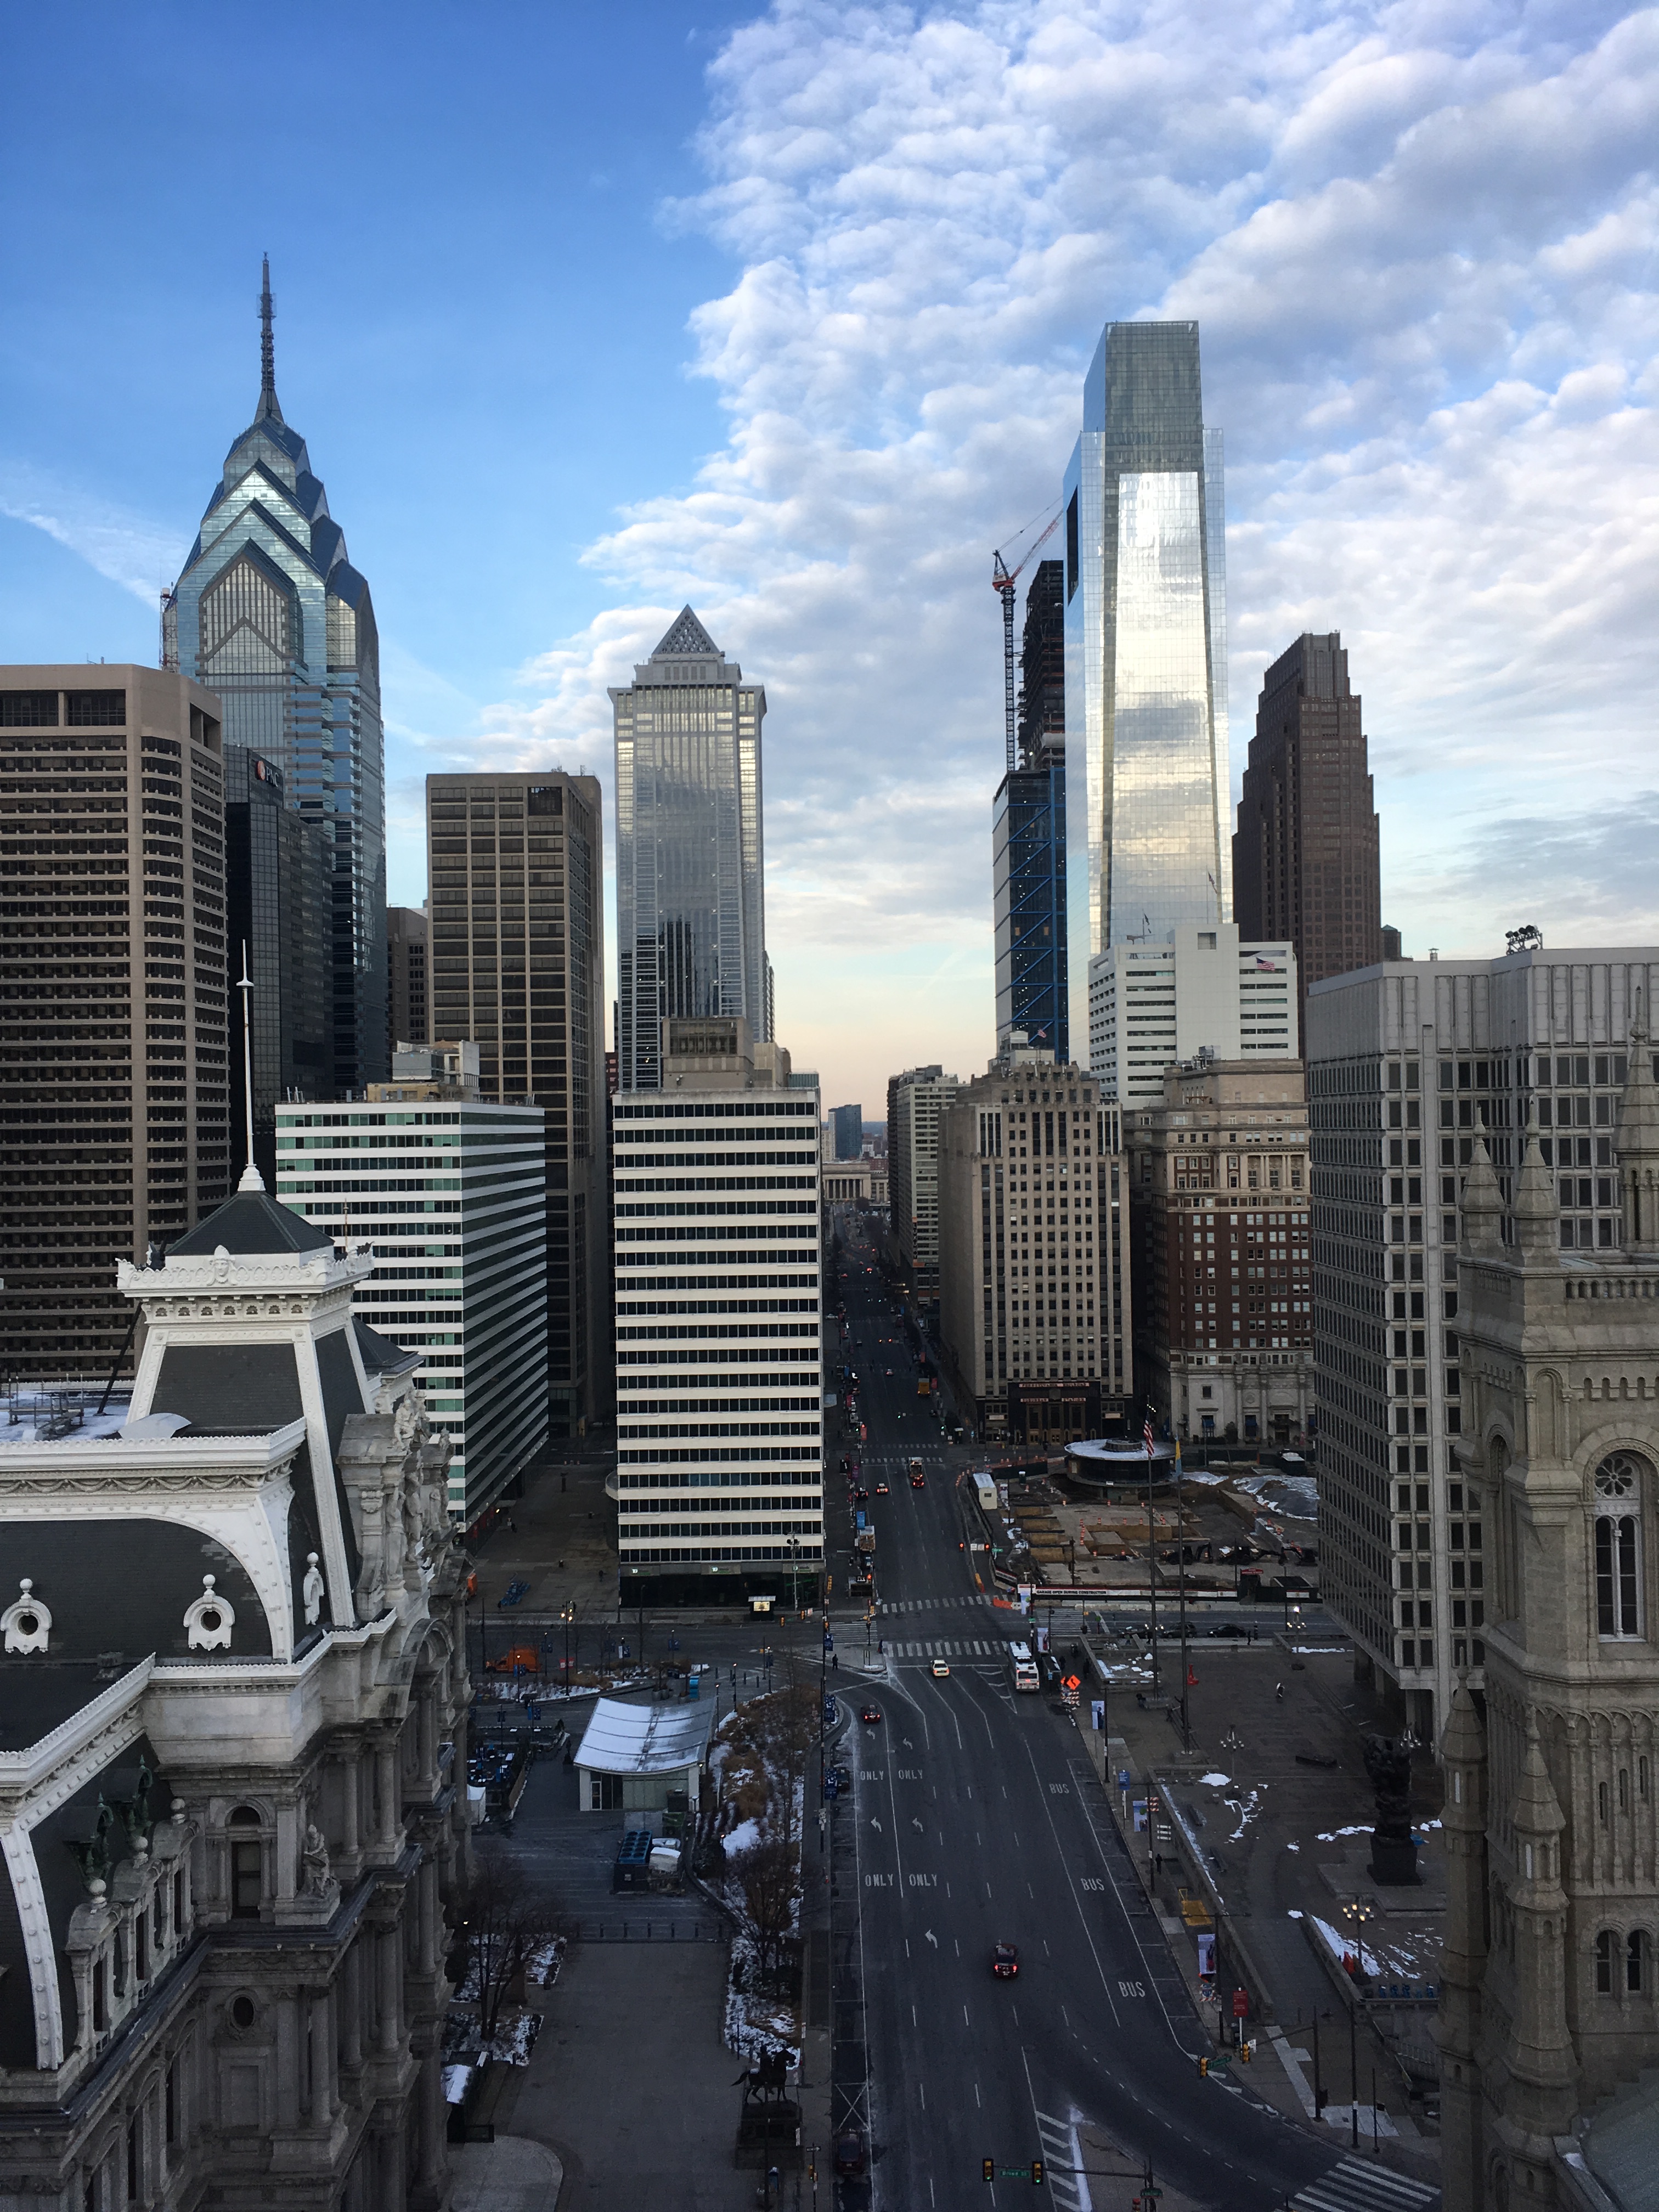
Since the workshop ran all day on Saturday, I drove up the night before and left the day after the workshop. The view from my hotel room alone was worth the nightly rate. If you are headed to Philadelphia and are looking for a place to stay, I highly recommend the Courtyard Marriott Downtown. Request a room overlooking City Hall (skipping dinner each night will make up the extra cost and is well worth it, IMHO).

Pattern: Madalynne’s Simplicity 8229, size 36A
Fabrics: Bra kits from Tailor Made Shop (plus foam from Bra Maker’s Supply)
Modifications: None, so far
Photo Locations: Visual Arts Center of Richmond Fibre Studio, Madalynne’s studio, and Courtyard Philadelphia Downtown
Thank you to Madalynne for sharing the photos from her studio
