After my sewing slump at the end of 2016, I wanted to kick off 2017 with a completely new-to-me project that would require a bit of commitment and concentration. I decided the Megan Nielsen Dove blouse to dress hack would be a great project to start with.
So yes, I made and finished this dress weeks ago – I’ve even worn it out – I just hadn’t gotten any pictures of me wearing it until this past weekend.

Honestly, I thought this would be a pretty straight forward modification given that the designer has a superb tutorial walking you through the steps of turning her pattern into a dress. And that part was easy, but it was just the beginning for me. This dress is the reason I make muslins of just about every project I sew. It was huge on me.
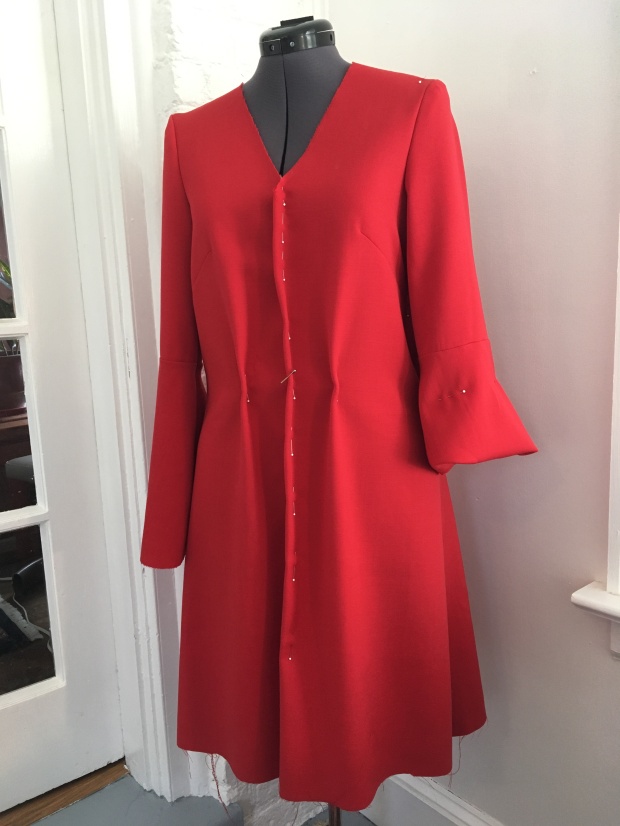
Practice dress in vintage red wool suiting. Sadly, this fabric was in rough shape – faded and stained in spots – when I acquired it. Otherwise, I’d never have used it for muslining.
In retrospect, I should have started with a smaller size. When I used the measurements chart on the instructions my bust fell in the x-small range while my waist and hips were small and medium (no surprises there; this is pretty common for me). So I split the difference and cut the small. However, when hacking this pattern from blouse to dress you can easily adjust for your waist measurement and you use your own hip measurement, so my initial size choice was not the best place to start for this hack. But rather than print, tape, and cut a new pattern, I decided to work with what I had, which was not the most efficient way to proceed.
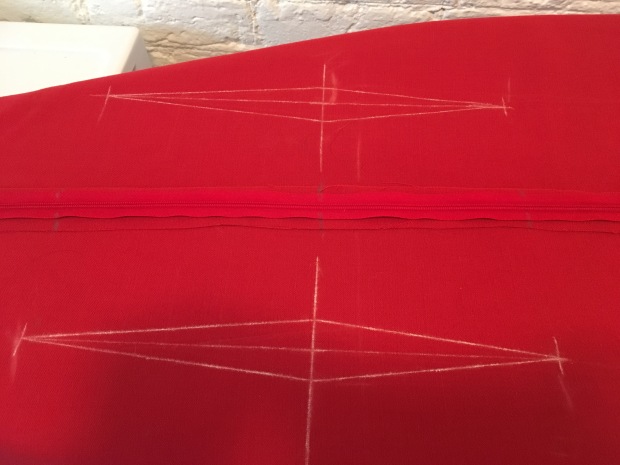
That said, the necessary modifications went slowly, but very smoothly. I started by pulling 1.25″ from the center front. I normally do not like to do this, but there was just way too much fabric and this change did not bring my side seams forward noticeably. It also helped bring up the V-neck slightly, which I was hoping for. Next, I increased the side seams at the waist (fading to nothing at the armholes) and from the hips to the hem. These changes eliminated the need for front darts which you see pinned in the pic above. Then, I added double-ended darts for shaping in the back.
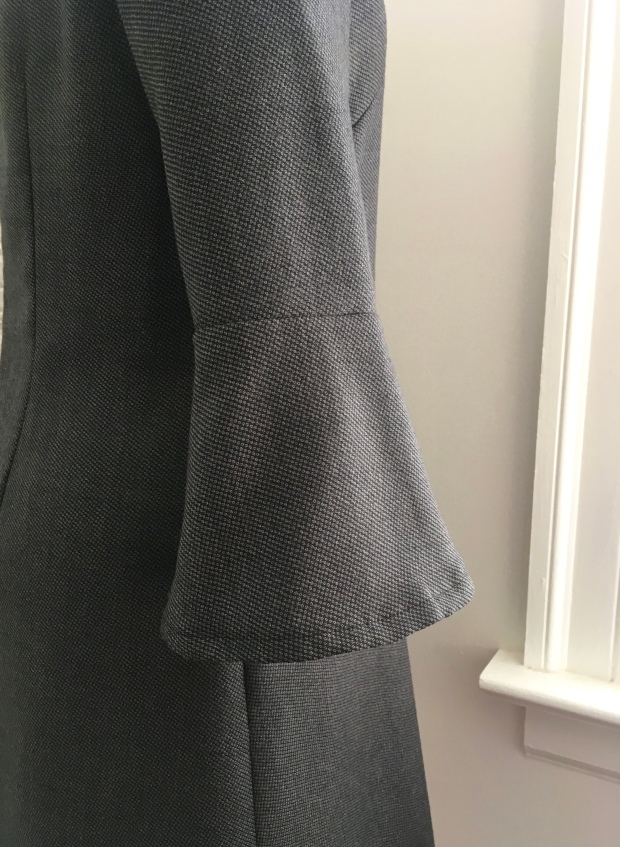
The final changes were smaller and easier: I straightened the hem (personal preference), narrowed the shoulders slightly, narrowed the sleeves where they meet the flounce and narrowed the top of the flounce accordingly, and shortened the flounce on each sleeve by half. I like my sleeves at bracelet length (any longer and I keep pushing them up),and the original sleeves were just far too 70’s for me. Whether I did any of these adjustments in the correct order or if they were not the correct adjustments to make to fix this fit – I do not know. But they worked for me. There is still a small bit of pulling at the front armhole seam when I move my arms behind my back, but, well, I just won’t do that.
After I made all of these changes on my red wool muslin dress, I adjusted my pattern – since chances are I will make at least one more of these – and sewed up my dress, which was a breeze. The only issue I had was with the hem. I did not use the hem facing provided with the pattern since I was doing a straight hem rather than the original split shirt hem. But this wool blend did not take a traditional turn-under-twice hem well. When I put the dress on, the hem looked all choppy no matter how diligently I pressed it. So I unpicked it, added a loop of interfacing and re-hemmed it. That helped, but it’s still not fully to my liking.
At this point, I must admit, I was feeling pretty proud of myself. I have almost always had somebody available to help me with pattern modifications,even if it is just to help me with pinning out excess fabric. I did these adjustments myself with dozens of trips between my sewing room and my only full-length mirror upstairs. They were straightforward, but time consuming. Had I attempted this project in the end of 2016, I have no doubt I would have just tossed the muslin and moved on.
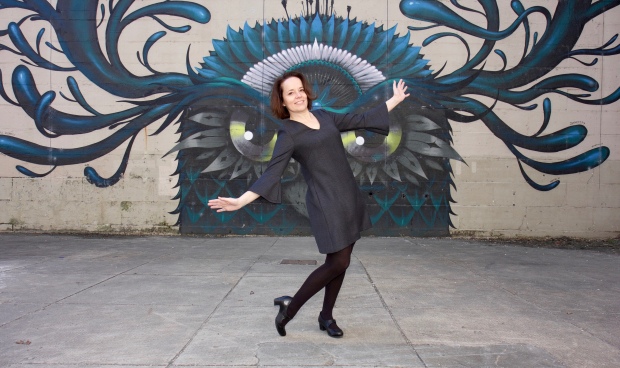
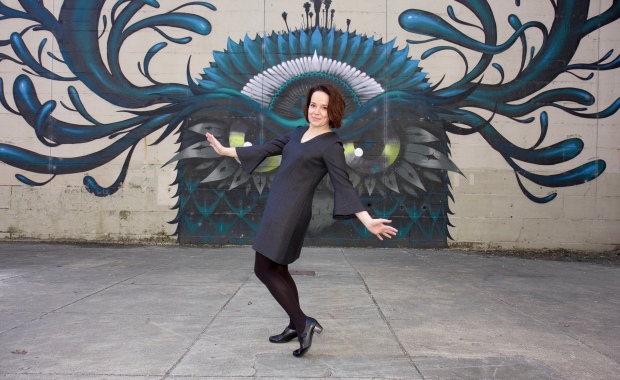
I wore this dress, the night I finished it, to an inaugural celebration for Richmond’s new mayor. It is not the most flattering or unique dress I own — I admit, this initially bothered me a bit, but then I reminded myself that not all custom-made items need to scream one-of-a-kind — but it was a good dress for a reception after work hours when I had no idea what the dress code would be. It will be a good dress to wear to an office (if I ever go back to work in an office). And there is an added bonus: it is one of my few handmade dresses that does not have a fitted waist! This means this will hold a regular spot in my dress rotation at events where food and beverages will be available.
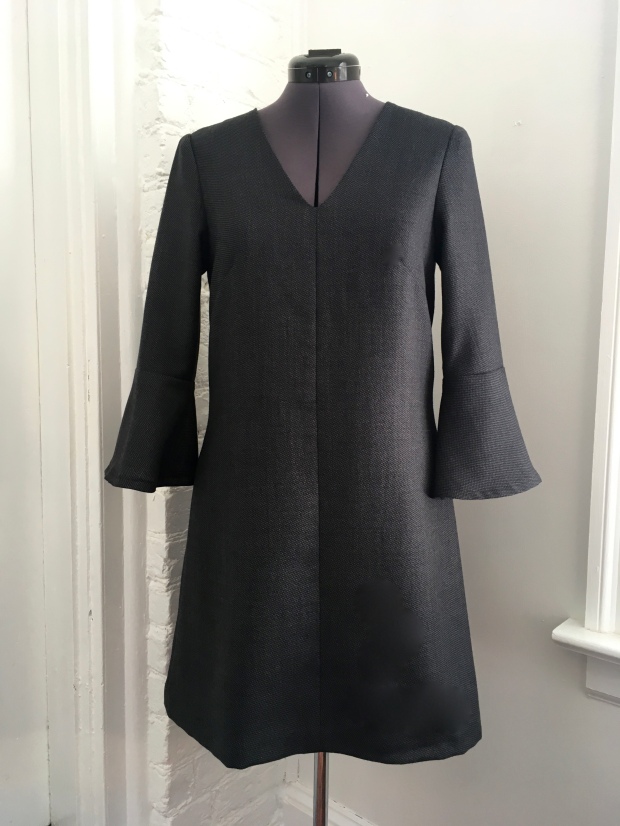
Here are a couple pictures on my dress form:
And as always with me, while it may be a bit dull and conservative on the outside, the inside practically glows.

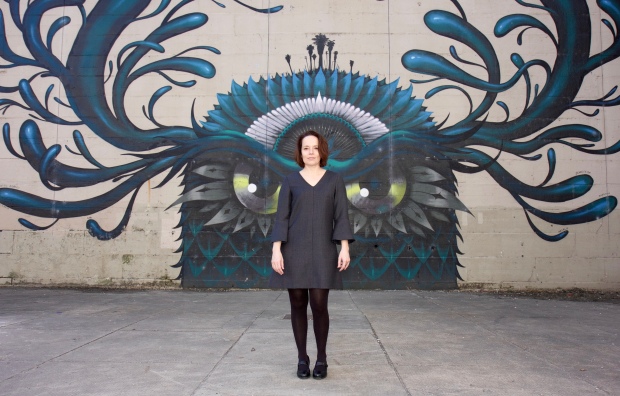
I should have put the dress on inside out for one shot in front of the mural. The colors would have been perfect!
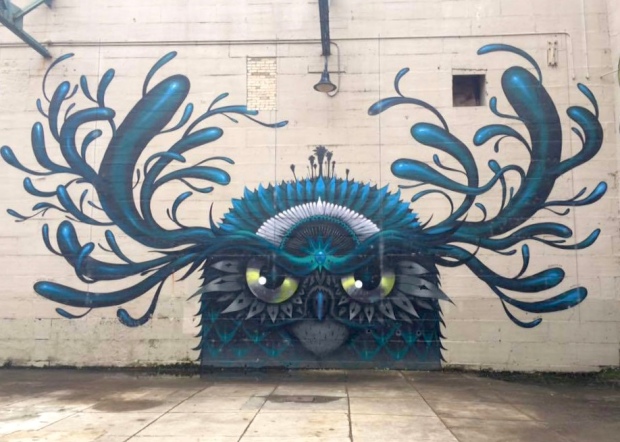
Here’s one shot of this mural without me “posing” – if you can call it that – in front of it.
I would be surprised if I do not make another one of these dresses this year. It is a fun pattern that, for most, will come together pretty quickly. Don’t let my lazy size-choosing mistake deter you.
Pattern: Megan Nielsen Dove Blouse (turned into a dress), size small
Fabric: Black & grey small checked wool blend (I should totally burn test it for fiber content); lined in vintage Si Bonne cotton rayon blend in bright turquoise.
Modifications: Followed steps laid out on Megan Nielsen’s website to convert pattern from a blouse to a dress. Then took 1.25″ from center front, increased the side seams by varying amounts from the armhole to the hem, added back double-ended darts, narrowed the shoulders slightly, narrowed the sleeves at the bottom and flounce at the top, shortened sleeve flounces by 4″, straightened the hem.
Mural: Owl by Jeff Soto, painted in April 2012 at the James River Power Plant Building and Floodwall, as part of the 2012 Richmond Virginia Street Art Festival. This is quite possibly my favorite mural in Richmond. The owl in it’s original colors can be seen here.
Thank you to Brian, who kindly took two rounds of photos of me in this dress.


